Users with survey management permissions can easily create and customize surveys. This guide will walk you through the process from start to finish.
Start a new survey
- Log into your Macorva admin account and go to Configure > Surveys

- Choose the appropriate Category for your survey by clicking on the dropdown arrow in the left box.
- Select the dropdown arrow under “No survey” and click + New survey.

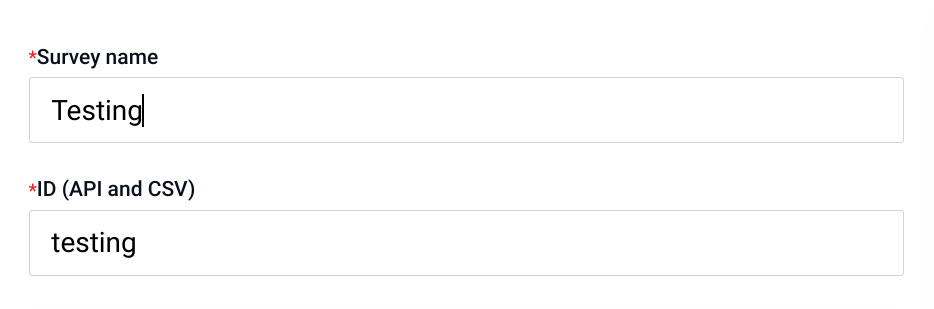
- Add a Survey name and ID. This ID is is used to identify this specific survey when sending it via CSV upload or API.
Build and configure your survey
- You can now start building your survey using the sections in the survey builder. Each section includes default communication and questions to help you get started. To make any changes, click on the checkbox next to Use category default. As you make changes, a real-time preview will appear on the right side of your screen so you can instantly see how your survey will look.
-
Below is a quick overview of each section:
- Customer communication – Control your email/SMS templates and reminder schedule.
- Net Promoter Score (NPS) – Add an NPS question, with or without attributes. You can customize the attributes that customers can select to explain their rating.
- CSAT – Add CSAT questions (always includes attributes). Customize them with Default attributes.
- Employees and Products – You can also add questions to rate specific employees or products involved in the interaction.

- Use the Customer communication section to edit the email subject and text, as well as the SMS text that is sent out to your customers. You can also edit the reminder email subject and text, and set the maximum number of reminders and reminder frequency. (For more information, check out the How do I send and edit customer survey notifications? article.)
- Use the Net Promoter Score (NPS) section to add NPS to your surveys. NPS can be added with or without attributes and these attributes can be customized to fit your needs by clicking Default attributes. From here, you can add/remove negative or positive attributes.
-
Use the CSAT section to add CSAT to your surveys. CSAT always has attributes and they can be customized to fit your needs by clicking Default attributes. From here, you can add/remove negative or positive attributes.

- Use the Employees and Products sections to add and customize sections similar to the format of NPS/CSAT.
-
The Survey configuration section is where you can control the overall behavior and appearance of your survey. Key settings include:
- Select the appropriate Brand template.
- Set the Number of rating options (a 5 or 7 point scale).
- Enable Open comments and edit the prompt.
- Add additional questions. (For more information on this, check out our Creating custom survey questions article.)
- Add links to third-party Review sites (like Google or Yelp). (For more information on this, check out the How do I direct customers to give reviews on Google/Facebook/Yelp? article.)
- Update Additional follow-up criteria for when a response is flagged.
- Enabling or disabling a Static URL for feedback or Throttle surveys using the “CX survey interval”. (For more information on QR codes, check out the How do I create a QR code for a survey? article.)
Notifications
- The Summary and follow-up notifications section is where you may select a variety of reports to receive based on survey responses. To select any of these reports, simply click on the checkbox and type in the desired recipients.
- Radiant AI Summaries: These are digest reports that provide an overview of all survey responses. You can schedule these summaries to be sent Daily, Weekly, Biweekly, or Monthly to a selected list of recipients.
-
Follow-up Alerts: These are notifications for individual responses that require immediate attention, flagged either by our AI or by custom rules you've set in the Additional follow-up criteria section. You can choose to send these alerts Instantly as they arrive, or as a consolidated Daily list to specific recipients.

Save and Assign
- Once you're happy with the setup, click Save survey. Your survey is now ready to send!
- (Optional) To keep your surveys organized, you can assign them to a group. For example, you may organize your Locations into Regions by State. To create a group, click + New group and enter the group name. Then, select the appropriate survey and click Save Group.

For more advanced options, check out the following articles:
- How do I edit the customer survey notifications?
- Creating custom survey questions
- Using AI to create custom questions
- How do I direct customers to give reviews on Google/Facebook/Yelp?
- How do I create a QR code for a survey?
- How do I send my first survey?
- How to send surveys to a list of customers?
- Can I format the text in a custom question?